CCNA / CCENT / Network+ Tutorial: The Ethernet Header And Trailer
Now that we’ve tackled crossover cables and Auto MDI-X (good CCNA study material), let’s take a detailed look at the Ethernet header and trailer. We’ll start — where else? — with the header.

Here’s a quick look at what each field does:
- Preamble: A seven-byte set of alternating ones and zeroes – 10101010, repeated seven times. Used for clock synchronization.
- SFD: One-byte field set to 10101011, used to indicate the preamble’s end and that the destination MAC address will immediately follow.
- Destination MAC Address: The frame’s destination. Much more about this later.
- Source MAC Address: The frame’s source. Much more about this later, too.
- Protocol Type: Indicates just that – the protocol type, either IPv4 or IPv6 in this book.
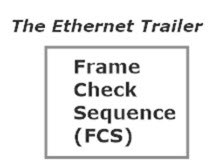
Now for the Ethernet trailer. Not much to see here, but it’s quite important.

It might not look like much, but the FCS is a vital error-detection operation. The sender arrives at a value by running a cyclic redundancy check (CRC), a complex mathematical operation, against the data contained in the frame. This calculation yields a numeric value. That value is placed into the FCS, and the frame is then transmitted.
The recipient of the frame will run the same CRC against the frame’s data and will compare the result to the value contained in the incoming FCS field. If the compared values are the same, the frame is fine, and life goes on. If they’re not the same, the frame is considered corrupt, but there is no specific notification sent back that the frame needs to be retransmitted. The FCS is for error detection (finding out about a problem), not error correction (actually doing something about the problem).
A Final Word On Cables (For Now, Anyway)
We spent plenty of time on the wires in the cable and how the wires run end to end in different cables in a previous tutorial, but we need a little something to top off the cable at each end.

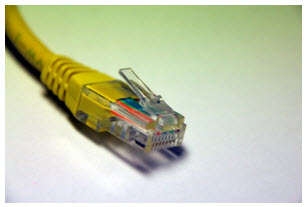
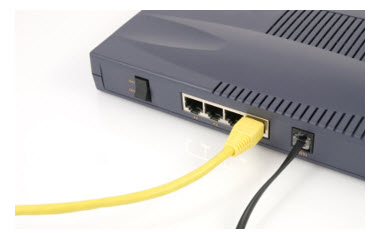
That cable is terminated courtesy of an RJ-45 connector, the most common type of UTP connector you’ll run into out in the field. The little plastic tab is sometimes covered with a hard plastic shell that’s designed to prevent the tab from breaking. You just put the connector into the appropriate port, push in gently until you hear (or feel) a little click, and you’re all set!

That concludes our look at Ethernet standards and cabling for your CCNA, CCENT, and Network+ exams. There’s plenty of additional (and free!) study material here on the website, as well as my YouTube channel, so follow these links and keep working toward your certification — I’m here to help you get it!
Chris Bryant’s YouTube CCNA Channel
Chris Bryant’s CCNA Video Boot Camp on Udemy
Tutorials on this site:
The OSI Model and the CCNA Exam


